
The Art of Sharpening Hand Saw Blades
Sharpening a hand saw blade might seem like a daunting task, but with the right technique and tools, it can be easily accomplished. A sharp hand saw blade not only makes your woodworking projects easier and more efficient, but it also ensures clean and precise cuts. In this article, we will guide you through the process of sharpening a hand saw blade, step by step.
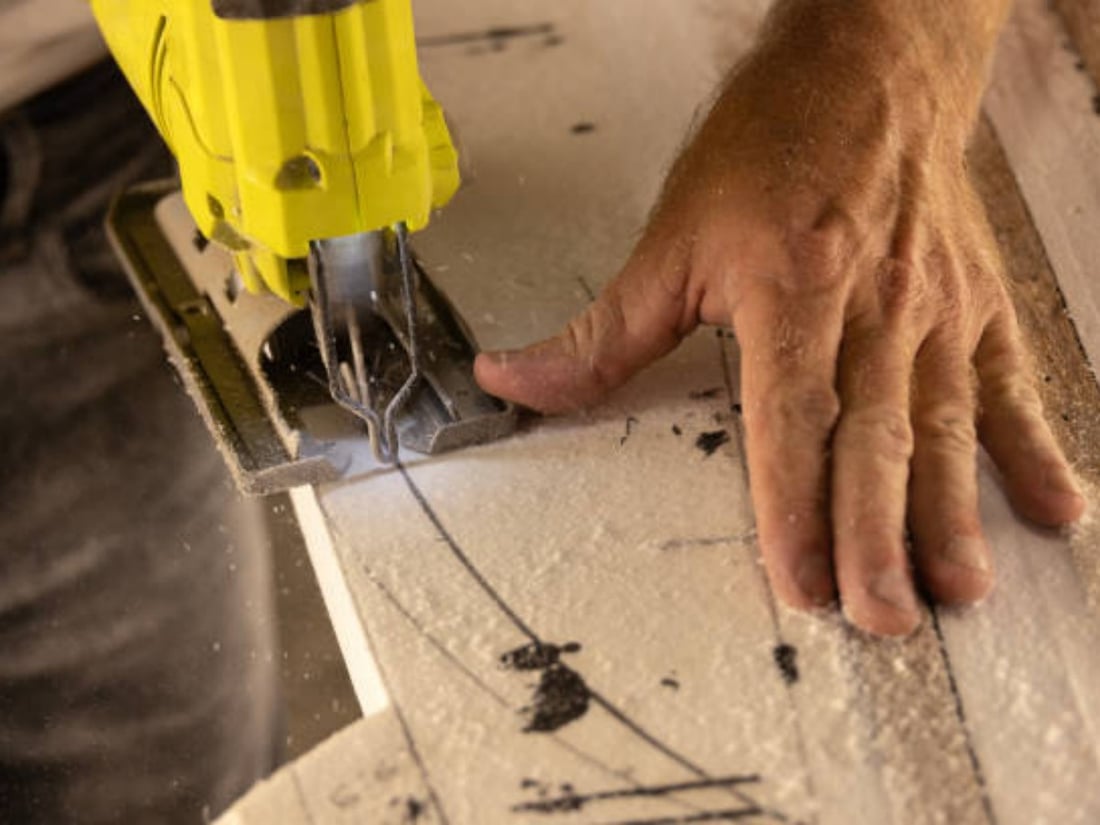
1. Tools and Materials of Sharpening Hand Saw Blades
Before you begin sharpening your hand saw blade, gather the necessary tools and materials. You will need:
- A hand saw vise or clamp
- A flat file
- A triangular file
- A saw set
- A saw file guide
- A file card or brush
- A workbench or sturdy surface
Having these tools at hand will make the sharpening process much smoother and more efficient.
2. Secure the Saw Blade
Start by securing the hand saw blade in a hand saw vise or clamp. This will allow you to work on the blade without it moving or slipping. Make sure the teeth of the saw are facing up and are easily accessible for filing.
3. Inspect and Clean the Blade
Before you begin sharpening, take a few moments to inspect the hand saw blade. Look for any damaged or missing teeth that might need to be replaced. Additionally, remove any rust or debris from the blade using a file card or brush. A clean blade ensures a smoother sharpening process.
4. Set the Teeth
Using a saw set, carefully set the teeth of the hand saw blade. This step is crucial for ensuring proper cutting performance. Follow the manufacturer's instructions for your specific saw set, adjusting the set according to the desired tooth configuration.
5. Sharpen the Rakers
Next, focus on sharpening the rakers, also known as the depth gauges. The rakers determine the depth of the cut and play a vital role in the saw's performance. Use a flat file to file down the rakers to the appropriate height, ensuring they are slightly lower than the cutting teeth.
6. File the Teeth of Sharpening Hand Saw Blades
Now it's time to sharpen the cutting teeth of the hand saw blade. Using a saw file guide, position the file at the correct angle for your specific saw. Place the file in the gullet between the teeth and push it forward in one smooth motion. Repeat this process for each tooth, maintaining a consistent angle and applying equal pressure.
7. Maintain the Tooth Angle
Consistency is key when sharpening a hand saw blade. To ensure all the teeth are sharpened evenly, maintain the same angle throughout the process. This will prevent the saw from cutting unevenly or wandering off the desired cutting line.
8. Use the Triangular File
After filing each tooth with a saw file, use a triangular file to touch up the points or tips of the teeth. This will help restore the sharpness and precision of the cutting edges, ensuring clean and efficient cuts.
9. Test the Blade
Once you have finished sharpening the hand saw blade, it's important to test its cutting performance. Make a few test cuts on a scrap piece of wood to ensure the blade is sharp and cutting smoothly. If necessary, make any additional adjustments to the teeth or rakers until you achieve the desired results.
10. Maintain and Store the Blade
Lastly, after sharpening your hand saw blade, it's important to maintain it properly. Keep the blade clean and free from rust by wiping it down with a dry cloth after each use. Store the saw in a dry and protected area to prevent any damage to the teeth or blade.
By following these steps, you can effectively sharpen a hand saw blade and enhance its cutting performance. Remember to take your time and be patient, as the process requires precision and attention to detail. With a sharp hand saw blade, your woodworking projects will be a breeze!
If you are interested in our products or services, please feel free to contact us.