
If you're a DIY enthusiast, you know how important it is to have the right tools for the job. One of the most useful tools in any DIYer's arsenal is an oscillating saw. This versatile tool can be used for a variety of tasks, from cutting through wood and metal to sanding and grinding.However, to get the most out of your oscillating saw, you need to know how to change the blades. Yueqing Baiyi Tool is a professional manufacturers from China offering jig saw blades, reciprocating saw blades,multi-function Saw Blade and hacksaw blades since 1996. More than ten years of research and development, we have advanced production equipments, professional automatic production lines, and complete product models. Our products are popular all over china, and are mainly exported to overseas market of America, Europe, Russia and other areas.You can only get the most out of your machine by using the right tools. Please believe, Our factory can provide you with competitive quality and prices as per your request.
In this article, we'll walk you through the process of changing oscillating saw blades step-by-step.
Step 1: Turn off the Power
Before you start changing the blade, make sure the power is turned off. Unplug the saw from the wall, or if it's battery-powered, remove the battery. This is an important safety step, as it can prevent accidental injury.
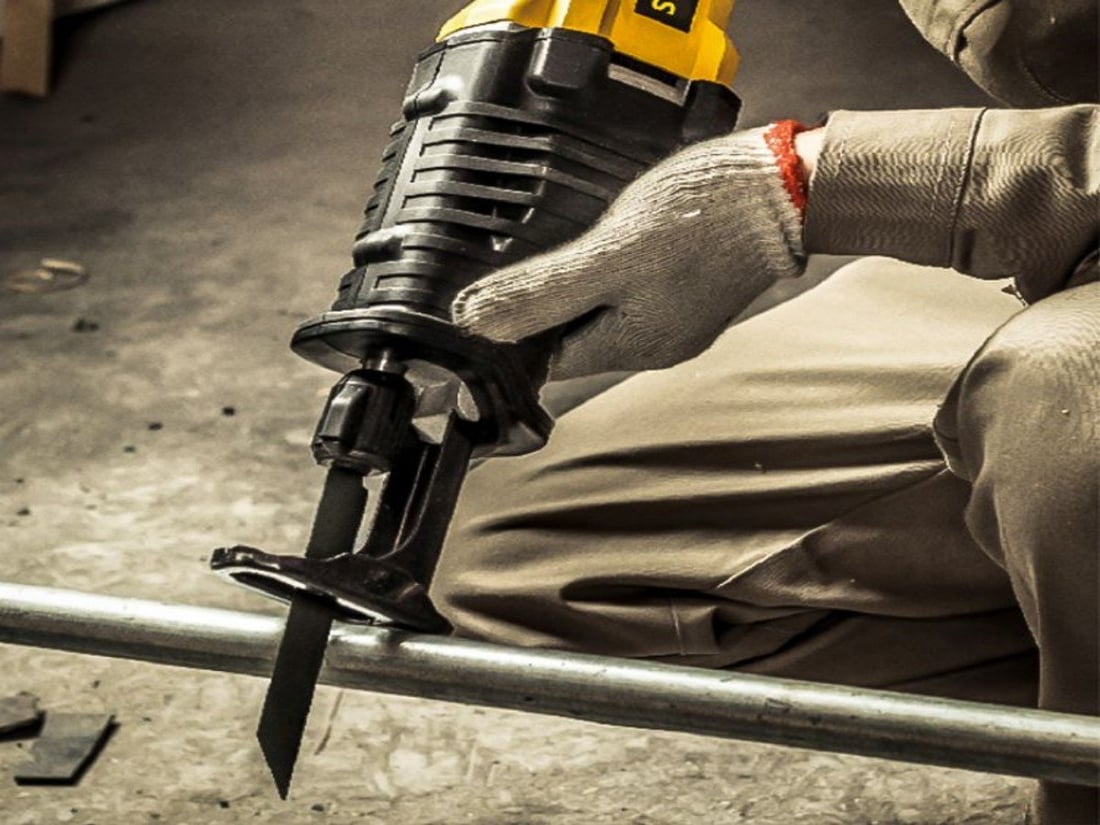
Step 2: Remove the Old Blade
The next step is to remove the old blade. Depending on the model of your oscillating saw, this may involve pressing a button or lever to release the blade, or using a hex wrench to loosen a screw.
Once the blade is released or the screw is loosened, gently pull the blade out of the saw. Be careful not to touch the blade with your hands, as it may still be hot from use.
Step 3: Choose a New Blade
Now that you've removed the old blade, it's time to choose a new one. Make sure you choose a blade that's the right size and shape for the task at hand. There are many different types of oscillating saw blades, each designed for specific tasks like cutting through wood, metal, or plastic.
Step 4: Install the New Blade
Once you've chosen the new blade, it's time to install it. Start by inserting the blade into the saw, making sure it's properly seated. If your oscillating saw requires a screw to hold the blade in place, use the hex wrench to tighten it.
Step 5: Test the Saw
After installing the new blade, it's important to test the saw before using it. Turn the power back on and run the saw for a few seconds to make sure the blade is securely in place and running smoothly. If everything looks and sounds good, you're ready to use your oscillating saw.
Conclusion
Changing an oscillating saw blade may seem intimidating, but it's actually a simple process. By following these steps, you can quickly and easily change the blade on your oscillating saw and get back to your DIY project. Remember to always prioritize safety by turning off the power before changing the blade and choosing the right blade for the task at hand. With a little practice, you'll be changing oscillating saw blades like a pro in no time!