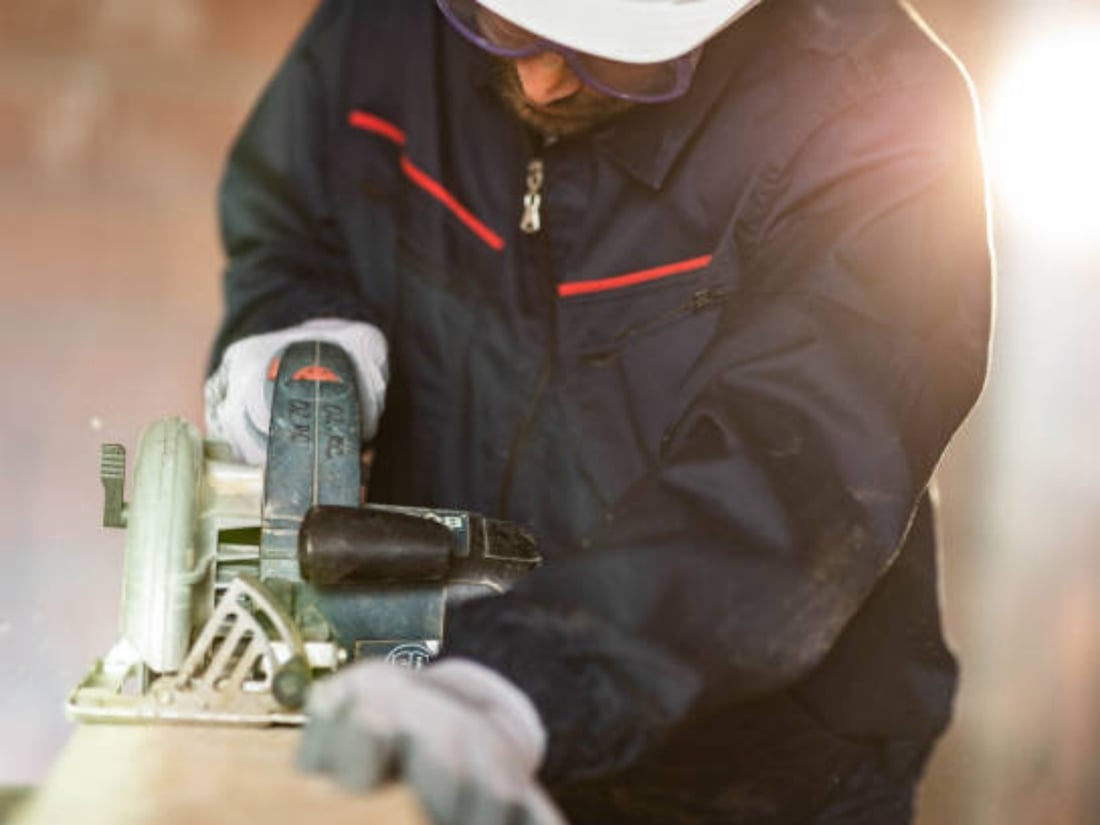
how to change blade on reciprocating saw: A Step-by-Step Guide
Introduction: Understanding the Basics
Reciprocating saws are versatile power tools commonly used for demolition, construction, and woodworking projects. One essential skill every reciprocating saw owner should possess is how to change the blade. In this article, we will guide you through the step-by-step process of changing the blade on a reciprocating saw, ensuring you can efficiently and safely tackle any project that comes your way.
1. Gather the Necessary Tools: Be Prepared
Before starting the blade replacement process, it is important to gather the necessary tools. You will need a pair of safety gloves, safety goggles, a hex wrench (provided with most reciprocating saws), and a new blade that suits your project's requirements. By having all these tools ready, you can ensure a smooth transition during the blade changing process.
2. Power Down and Disconnect: Prioritize Safety
Prior to changing the blade, always ensure that the saw is powered down and disconnected from any power source. This step is crucial to prevent accidental start-ups and potential injuries. Additionally, wearing safety gloves and goggles is highly recommended throughout the entire process.
3. Locate the Blade Clamp: Identify the Mechanism
The blade clamp, located near the front of the saw, is the mechanism that holds the blade in place. It is usually secured with a hex screw or a lever. Take a moment to familiarize yourself with the blade clamp and its components before proceeding further.
4. Loosen the Blade Clamp: Release the Blade
Using the provided hex wrench or by manipulating the lever, loosen the blade clamp to release the current blade. Make sure to keep a firm grip on the blade to prevent it from falling and causing any injuries. Once the blade clamp is sufficiently loosened, carefully remove the old blade from the saw.
5. Inspect and Clean: Evaluate the Saw and Blade
With the old blade removed, take a moment to inspect both the saw and the blade for any signs of damage or wear. If you notice any issues, it is essential to address them before proceeding. Additionally, use a clean cloth or brush to remove any debris or sawdust from the saw's blade clamp area.
6. Insert the New Blade: Position and Secure
Ensure the new blade is suitable for your project and matches the specifications of your reciprocating saw. Align the blade with the blade clamp and carefully insert it, making sure it is fully seated. Tighten the blade clamp using the hex wrench or lever, ensuring the blade is securely held in place.
7. Verify Blade Tension: Check for Proper Alignment
Once the new blade is securely in place, check for proper tension and alignment. Gently pull the blade back and forth to ensure it is snugly held by the clamp. If necessary, make any adjustments using the hex wrench or lever until the blade is correctly tensioned.
8. Test and Reconnect: Ready to Go
Before using the saw, it is crucial to test the blade to ensure it is functioning properly. Reconnect the saw to the power source, power it on, and observe the blade's movement. If everything appears to be in order, power down the saw again and disconnect it from the power source before proceeding with your intended project.
9. Dispose of the Old Blade: Handle with Care
Properly disposing of the old blade is essential for safety and environmental reasons. Place the old blade in a designated container or wrap it with heavy-duty tape to prevent any accidental injuries during disposal. Remember to follow local regulations regarding the disposal of sharp objects.
10. Regular Maintenance: Keep Your Saw in Top Shape
Now that you've successfully changed the blade on your reciprocating saw, it's essential to prioritize regular maintenance. Clean the saw after each use, inspect the blade for wear, and ensure the blade clamp remains in good condition. By doing so, you can prolong the lifespan of your saw and ensure optimal performance for future projects.
If you are interested in our products or services, please feel free to contact us.


